
Our Blog
Everything you will need to know...
Categories
Search
Recent Posts

NEW! Relax with GAIA Massage Therapy & Spa Treatments in Devon
NEW FOR 2024! The exciting addition of GAIA Skincare to our spa repertoire invites you to embark on a new journey of sensory indulgence at The Alchemist Spa in North Devon…

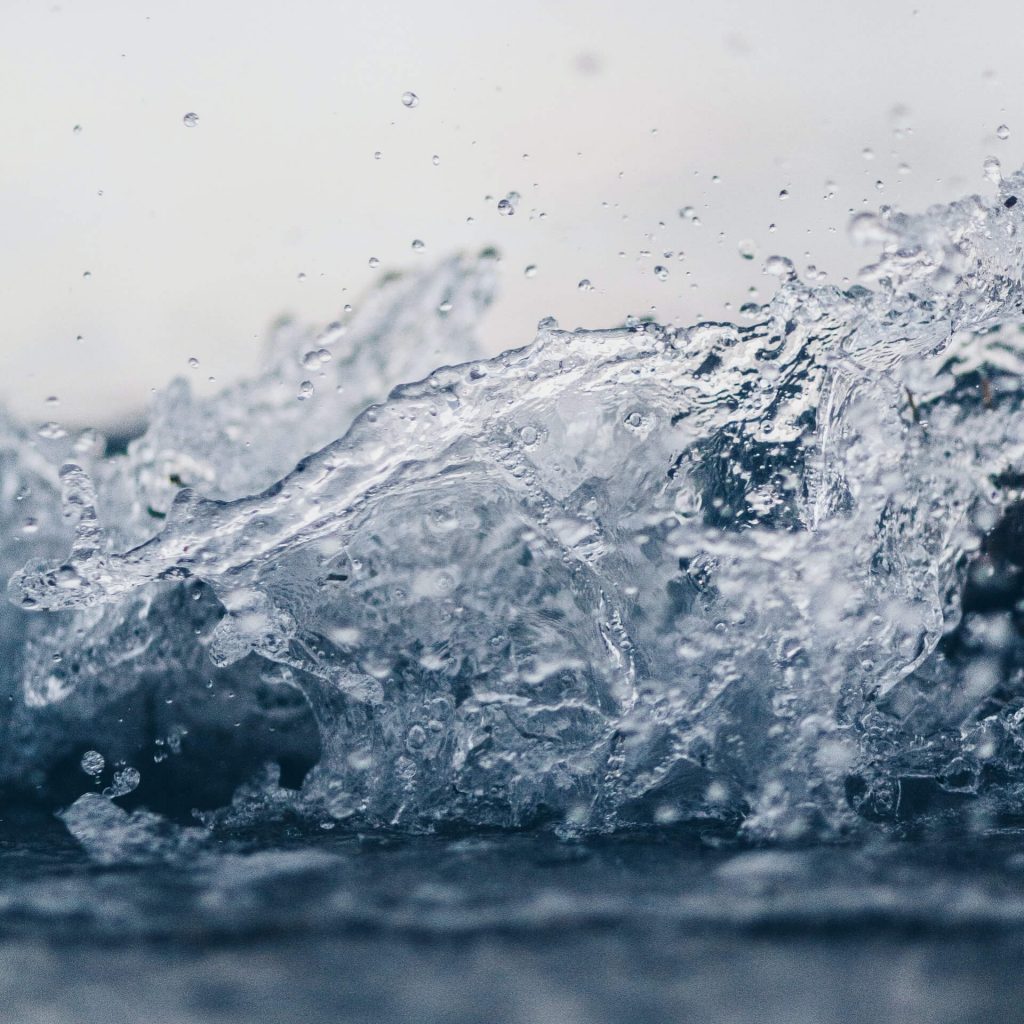
Indulge in a Blissful Spa Treatment: The Ultimate Guide to Rasul Mud Rituals
Step into a world where tradition meets modern luxury, as we delve into the captivating realm of a spa with Rasul.
Uncover the secrets of this ancient practice, blending the detoxifying power of steam and mud with the serene art of relaxation.

MEET THE WBH FAMILY
Restaurant Supervisor
In this edition of our “Meet the family” series, we talk to Jonathan, our Restaurant Supervisor. Jonathan joined the WBH Family in September 2021. Born and raised in Devon, Jonathan’s hospitality career initially took him to Cheltenham, but the call of the coast never went away…
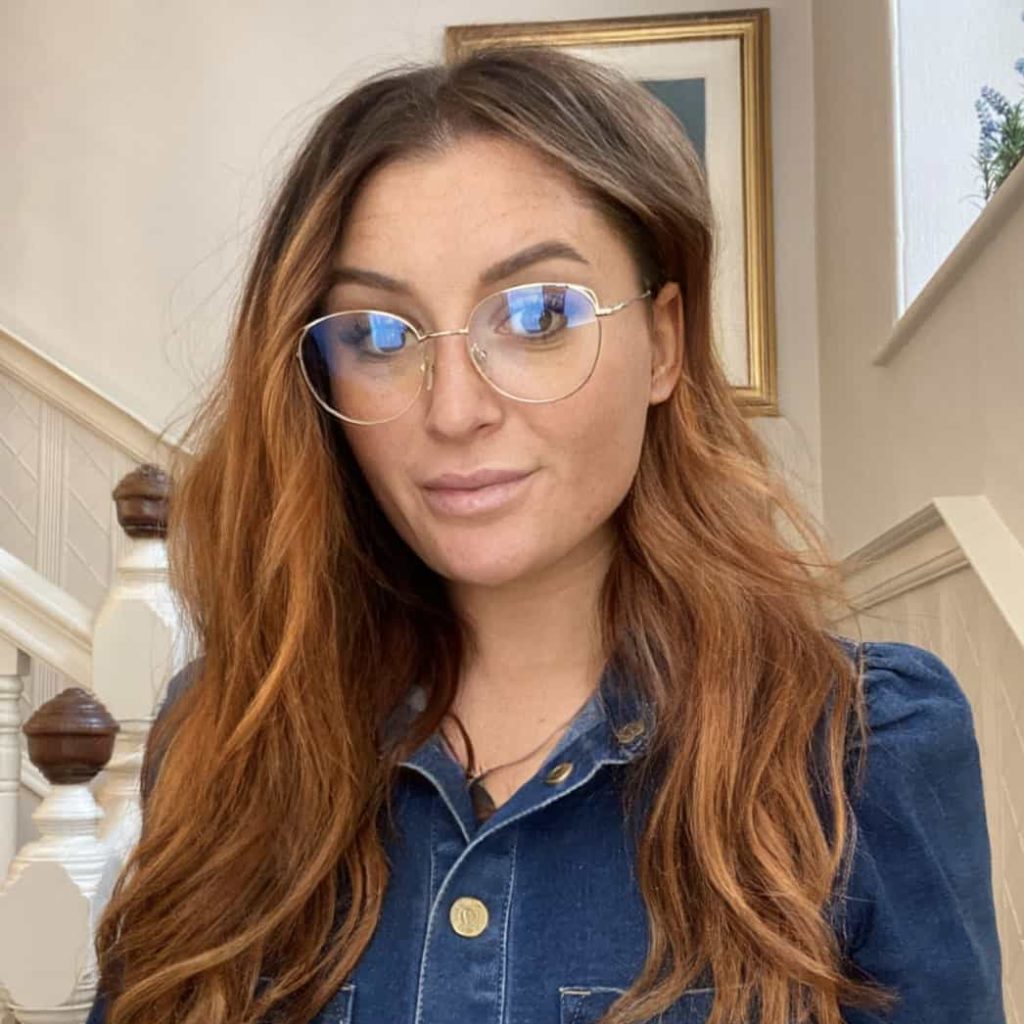
MEET THE WBH FAMILY
Marketing Manager
In this edition of our “Meet the family” series, we talk to Joanna, our Marketing Manager. Joanna officially started at the hotel in 2014, when she joined the Reception Team. But she actually grew up running around the hotel corridors, as her mum works in Reservations! today, Jo’s role is hugely varied, with no two days the same!
THE NORTH DEVON COFFEE GUIDE
The Best Coffee Shops in North Devon
Full of beans and the centre of a developing foodie scene, it shouldn’t come as a surprise that the North Devon café scene is growing in acclaim. Looking for the best coffee shops in North Devon?